Interested in the steps involved in creating a leaded stained glass window? It's a labor intensive endeavor. See below.
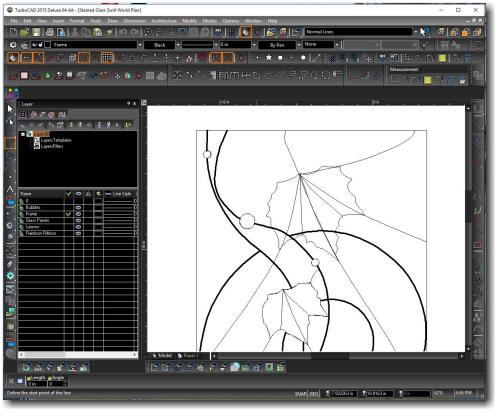
There are numerous books available with stained glass window designs. I keep a collection of photos of interesting pieces I've come across. The first step for me is to create the design in a CAD (computer aided design) program. I use TurboCad from IMSI. Using CAD allows me to easily create, modify, even stretch a design to fit the desired size.
I print out two copies; one is used to create cardboard templates for each individual piece and the other is used under the glass to help keep me on-track. Each piece on the plan and the poster board templates are numbered. I often make notes on the colors I intend to use on these templates also. After finishing the window, I keep the templates for future reference.
 Cut Each Piece to Fit
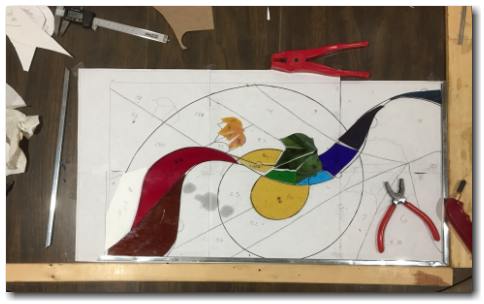
Using the cardboard templates created above, each piece of glass is cut and ground (if necessary) to fit.
 Continue Cutting & Fitting Glass
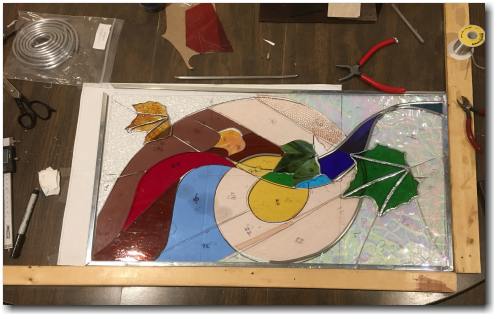
Each piece is numbered to match the pattern and the cardboard templates. (You'd be surprised how easy it is to mis-identify a piece... or accidentally flip it upside down.) Each pattern piece must allow for the small amount of lead came to fit between each glass section.
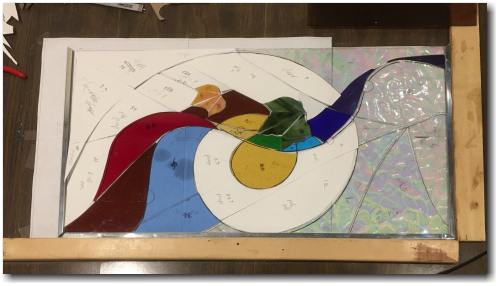
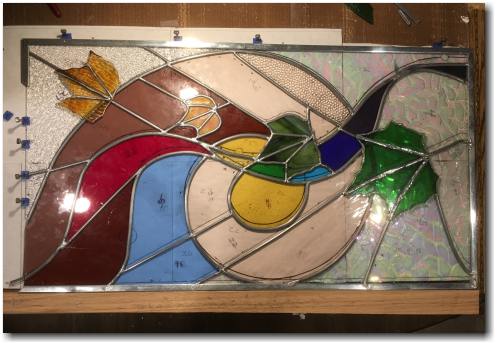
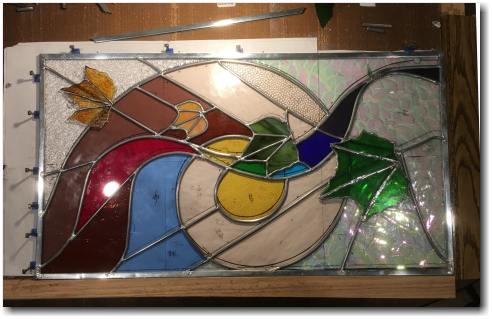
This picture shows more glass pieces cut and in position. The outer zinc came is shown on the left, bottom and right sides.
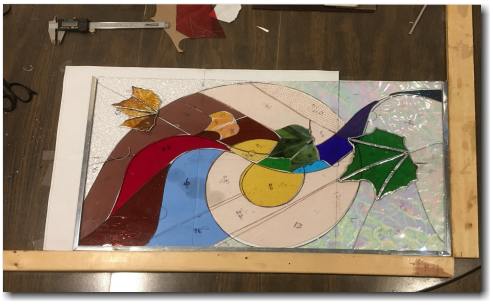
The larger green leaf on the right and the smaller brownish leaf on the left are constructed using the copper foil method instead of using lead came. This is so they can be attached to the front and backside of the finished window. They are shown here in position, but not attached.
While lead came is used throughout most of this window assembly, zinc came is used for the outside border for added stiffness. In this photo, the upper zinc piece is being fitted.
Once the 50 pieces were cut and fitted, now the real work begins.
 Cut & Fit Lead Came
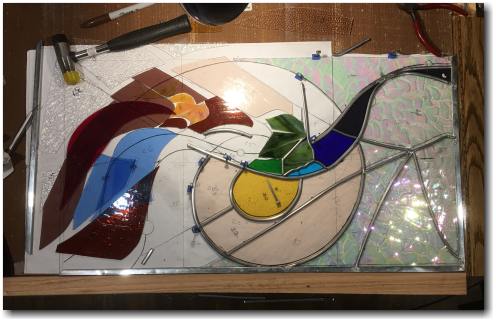
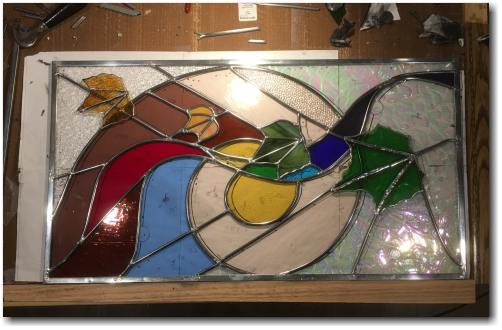
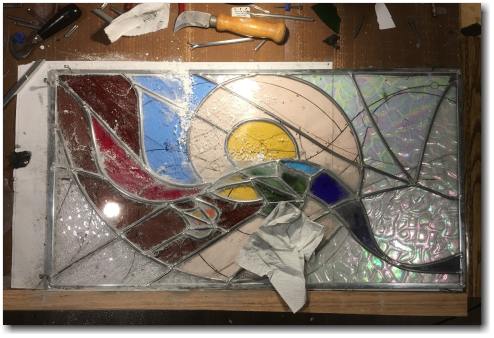
Using special glass/came holders and horse shoe nails for support, each glass piece is gently tapped into the lead came webbing. Came comes in a variety of styles and sizes. Different sizes are used in this design to emphasize the nautilus as well as the colored ribbon. Care is taken to created longer lead lines to promote window strength.
The lead came is tack soldered into place as the window is assembled.
While it sounds easy, care must be taken not to box yourself in.
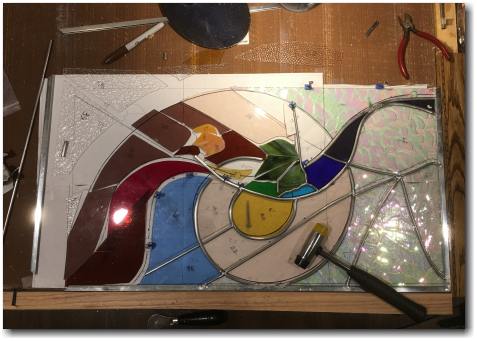
The leaves on the far left and far right are only set on the window showing where they will eventually be placed. This three dimensional aspect of the window is not typical in leaded stained glass - it is specific to this particular design. The leaves will be soldered in place at the very end of the assembly process.
Here, the last piece of zinc came is soldered in place.
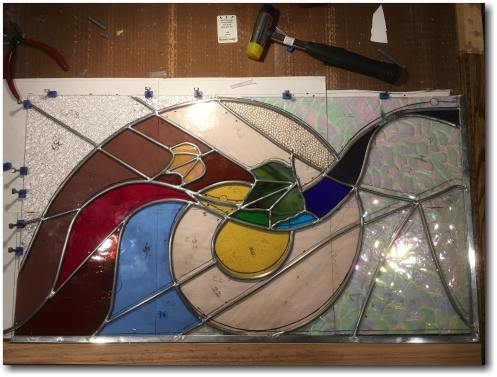
After all joints are soldered, the window is flipped over and all joints are re-soldered on the back side.
When the soldering is finished, the window is cleaned to remove the oily flux residue, then cement is worked between each piece of glass and the lead came.
 Finish the Lead Came
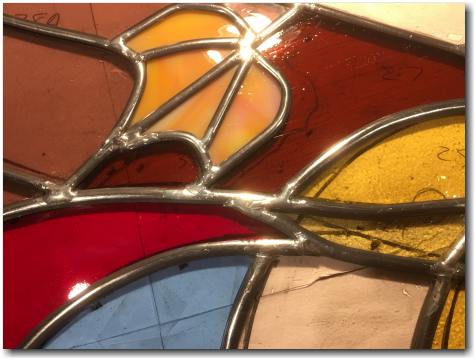
Lead came initially appears as a slightly bright gray metal. It can be finished in several ways including polishing (as shown in photo on the right), copper plated, or black plated.
 Create a Frame for Display
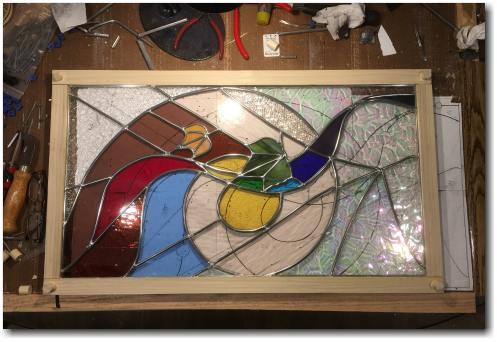
A custom frame can now be created for the finished window. The window on the left is framed using poplar, and will eventually be stained white and given several coats of polyurethane. Lap joints are used for strength in this window, followed by wooden pegs for style and added strength. Time for sanding, staining, re-sanding, and finally the application(s) of urethane.
Once completed, the two leaves are soldered on to the front and back of the window for an added three dimensional look. This is not typical of most window designs.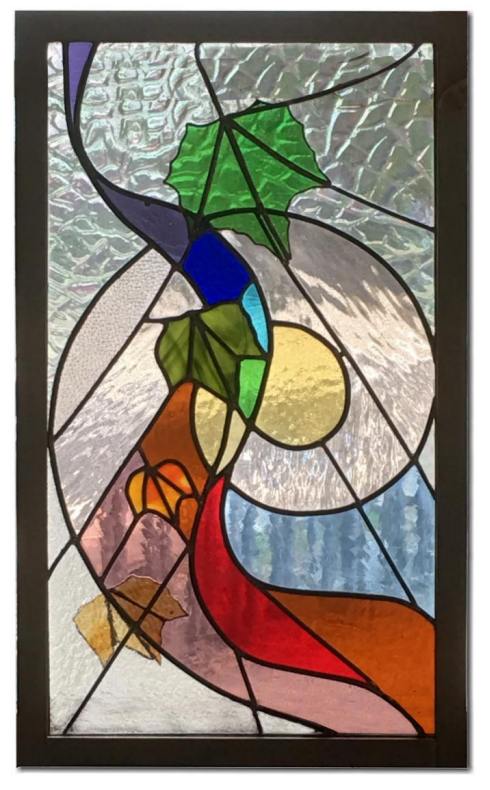 Final Cleanup
Just like jobs that are not finished until the paperwork is complete, stained glass isn't complete until all the clean up is done. Residual flux must be washed off. Cement is worked in between each piece of glass and the lead. The window is then cleaned of any excess cement. Next the lead came and solder are finished. This might be a polish or patina operation followed by a coat of wax then buffed. Phew!
Interested in Stained Glass Classes in north-east Indiana?